How To Customize An Operator's Language
This document discusses how to modify or create a language file. Language files allow you to set aliases for the
fields, forms, and messages. When an operator signs in, Collect! will lookup the operator selection on the
Operator Detail form and open the applicable language file.
 If the language file does not exist or no language is selected, Collect! will default to English.
This feature is useful for international use where your some operators do not primarily use your native language.
Generate A Blank File For Translating
If you are creating your own language file, the first step is to write a file to use for editing.
To write a language file:
1. Sign into Collect! with User Level 99 with no one in the system.
2. Select System from the top menu bar and then select Rights, Access Rights from the drop-down choices.
This will display the list of all the fields in Collect!.
Duplicates or blanks in the list of Access Rights may result in errors when the language file is
written. Please ensure that there are no blanks or duplicates in your list.
3. In preparation for writing a clean and accurate file, please select the REBUILD button and select YES to
rebuild your access rights. This should ensure that you are writing an accurate language file.
4. When the Rebuild is finished, close the list of Access Rights.
5. Select System from the top menu bar and then select Layout and Languages from the drop-down choices.
6. Select Write Language File from the side menu options. Collect! will generate a CSV file named
language.csv in the Collect\bin folder.

Collect! creates a Language CSV
7. You can open the file right away or locate it later to edit it as needed. The example shows a few
aliases entered, but when you first open this file, the Transactions column may be completely empty.
View sample Language File
Sample Language File with a few Aliases Entered
If you have fields already aliased, their values will show up in the Translations column
when you open the language CSV for the first time.

Editing Language File
To edit the language file, you must open it in a spreadsheet program or text editor. Refer to the column
headings to see where you need to enter your aliases for each field.
Enter your aliases in the Translation column. You only need to enter values in the
fields you want to change. Collect! will use its own default labels for any field you do not alias.
 It is a good idea to try to keep your entries as short as possible.
For messages that contain %s, %d, %ld, or anything starting with %, leave these values in the
message that you translate. These are program values that are inserted into the message. For
Example: "My Operator ID is %s." If you are signed in with OWN, Collect! will output
"My Operator ID is OWN."
For messages that contain \n, \r, \t, or anything starting with the backslash, leave these values in the
message that you translate. These are characters that need to be escaped. For
Example: "This is a message \non 2 lines." The message would appear as:
"This is a message
on 2 lines."
Make sure you save the language.csv as a CSV file when you are finished editing it.
Reading Language File
After you have aliased all the fields and forms you are interested in, you can read this information back into
Collect! to update all the labels for the forms and fields.
To read a language file:
1. Ensure that your edited language.csv resides in the Collect\bin\language folder before proceeding.
The file name should match the language that you translated. For example: French.csv
Although this is not required, you should name the language files to match the Windows Regional language names
(English, French, ect.).
2. Sign into Collect! with User Level 99. This user level will not load a language file.
3. Select System from the top menu bar and then select Rights from the drop-down choices.
4. Select Operators from the side menu options.
5. Navigate to an operator and go to the Operator Detail tab.
6. Right-click the Language field and select Properties from the drop-down choices.
7. Double-click the Pick List field to open or create a pick list.
8. Add the new entry to the list. For Example: "French" French
The value in quotes must match the name of the CSV file. The file extension is optional.
If the file extension is not set, CSV is assumed. This means that you can also save the
language file as language.txt or any other text format. In that case, you will need the
file extension in the pick list like: "French.txt" French
 WARNING: Do NOT use the Read Language File feature under the
Layout and Languages menu. This feature overwrites all of your default aliases,
PERMANENTLY.
WARNING: Do NOT use the Read Language File feature under the
Layout and Languages menu. This feature overwrites all of your default aliases,
PERMANENTLY.
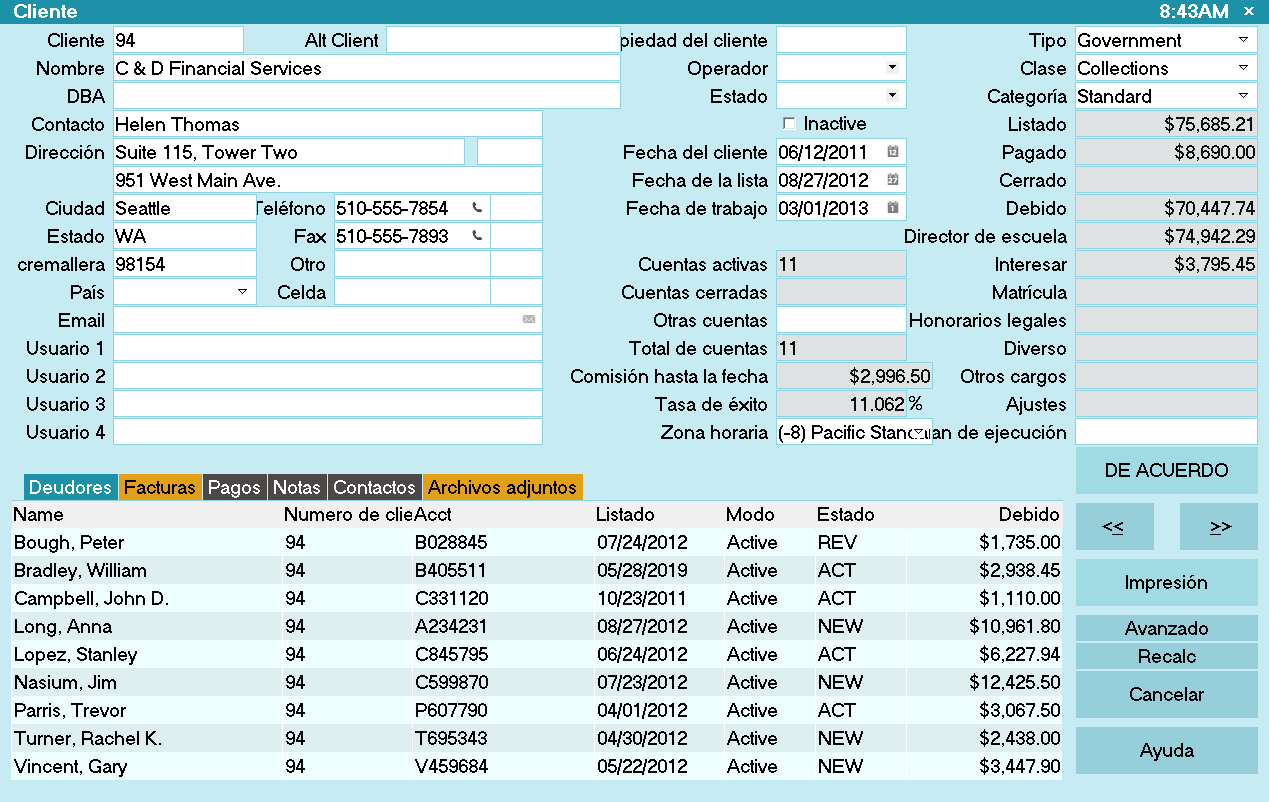
Client form with Aliased Fields
When new fields or messages are added to the system, Collect! will create the applicable entry in the
the language file the next time a user who uses the language file signs in, but it will not populate
the entry with a translated version. Collect! will default to English and you will have to fill in
the translated value.
| 
Was this page helpful? Do you have any comments on this document? Can we make it better? If so how may we improve this page.
Please click this link to send us your comments: helpinfo@collect.org